Most students must create slides for class assignments, group assignments, or lectures. One of the greatest challenges is providing voice-overs to describe each slide. A voiceover may sound easy, but it becomes a source of anxiety.
It needs a silent room, the best time, and, at times, a microphone. The least amount of background sounds will force you to retake, and more time is wasted. It gets even tougher when deadlines are looming.
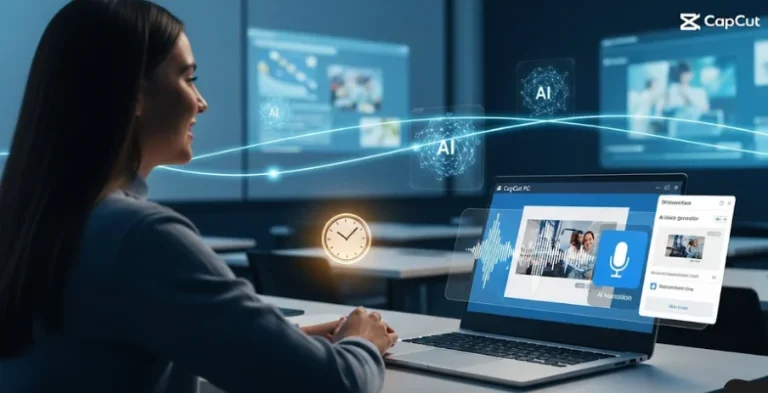
The good news is that the AI Voice Generator in CapCut PC offers an easy solution, creating instant narration from your script without recording
While CapCut PC makes free features accessible, the more advanced voice features may be subject to a paid subscription.
AI Voice Generator for Student Presentations
Narration brings a presentation to life. It gives a sense of flow for the audience, keeps a clear tone, and keeps every slide easier to understand. A good voiceover can turn dull slides into a professional story.
The most difficult part for the majority of students is recording this narration. It takes time, the right space, and repeating words multiple times over until they sound right.
That is where the AI voice generator in the CapCut desktop video editor is useful. You don’t need to use a microphone; you simply type out your script, and the application will read it out for you.
For example, a student working on a project in history can simply paste his/her notes into the editor and create a smooth narration in seconds. No takeovers, no wasting hours

Why Students Should Use an AI Voice Generator in CapCut PC
Slides alone can feel flat, but adding narration keeps the audience engaged. When a student explains each point with a natural voice, classmates or teachers follow with ease.
The AI voice feature in CapCut PC does this easily. Students can select one among several available options, either male or female voice, or formal or informal tone, based on the project.
This versatility suits students who have busy timetables. A voiceover that would take hours can now be ready within minutes. That extra time can then be devoted to editing material instead of redoing lines repeatedly.
It is interesting to note that some of the premium voice tones in the CapCut desktop video editor will cost you. But the free versions offer great results for most work.
Other Benefits of Using CapCut PC for Slide Videos
Besides narration, CapCut PC has features that help learners edit their slide videos with ease. The drag-and-drop functionality makes it easy to synchronize slides and narration.
Built-in functions enable learners to insert captions, include background music, or insert visuals based on the project tone. Video quality is further improved with AI-based applications. The software includes a video stabilizer and an AI video upscaler, among other features, that improve pictures to deliver a professional finish. Basic effects and filters can also provide a clean finish to the slides.
With these tools in the CapCut desktop video editor, students will no longer need to rely on other programs. It’s all right there in one place to save time and effort.
While most of the tools are available free of charge, some of the advanced ones are paid. However, even free software can produce well-defined, interesting, and professional slide videos for class projects.
Steps to Use the AI Voice Generator on CapCut PC
Step 1: Download and Install CapCut PC

Visit the official CapCut website and download the desktop application for your computer. Carefully proceed with the installation instructions to have it installed without any issues. Once installed, open the editor and sign up using a free account to begin editing.
Note that while CapCut desktop video editor contains many tools for free, some of the more advanced AI voice styles and other additional features may only be available using a paid account.
Step 2: Import Slide Video or Presentation

Click on “Import” to import your slide video or presentation file. Once you have imported it, drag it into the timeline at the bottom of the window. This will assist you in syncing your slides with narration and any other editing you will perform later.
Step 3: Add Narration with AI Voice Generator

Jump to the top of the screen and click on the “Text” tab, and type or paste your script into the box. Now, open up the “Text to speech” tab. You can select a voice style that will fit your project from here, e.g., male, female, formal, or informal.
After choosing the style, click on “Generate Speech.” The text to speech AI feature will automatically generate narration to suit your slides, cutting down on time and eliminating the use of microphones or repeat recordings.
Step 4: Export and Share

After preparing your video, adjust the parameters like resolution and frame rate based on your needs. Finally, export the file and store it on your device. Sharing it directly on class portals or social media sites is also feasible.
Conclusion
The AI Voice Generator in CapCut PC offers students an easy way to narrate slides without recording, turning text into smooth narration for professional, effortless presentations.
This saves time, dispenses with the inconvenience of setting up a quiet room, and makes projects sound professional. While there are expensive advanced voice styles available in the CapCut desktop video editor, many practical tools are accessible for free.
Students can begin with these free tools and decide later whether they need additional options. Try the text-to-speech feature on your next classroom assignment. You will realize how much easier it is to prepare and how much better your slides do at engaging your listeners.